A Guide to Sharpening Japanese Kitchen Knives– Koi Knives

A Guide to Sharpening Japanese Kitchen Knives– Koi Knives
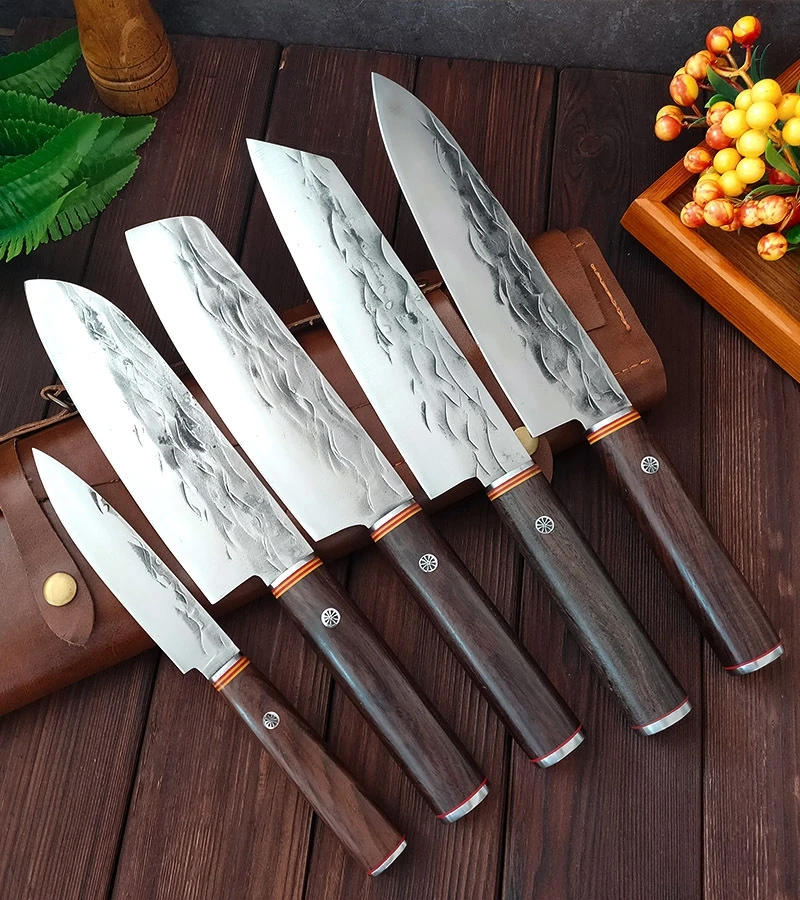
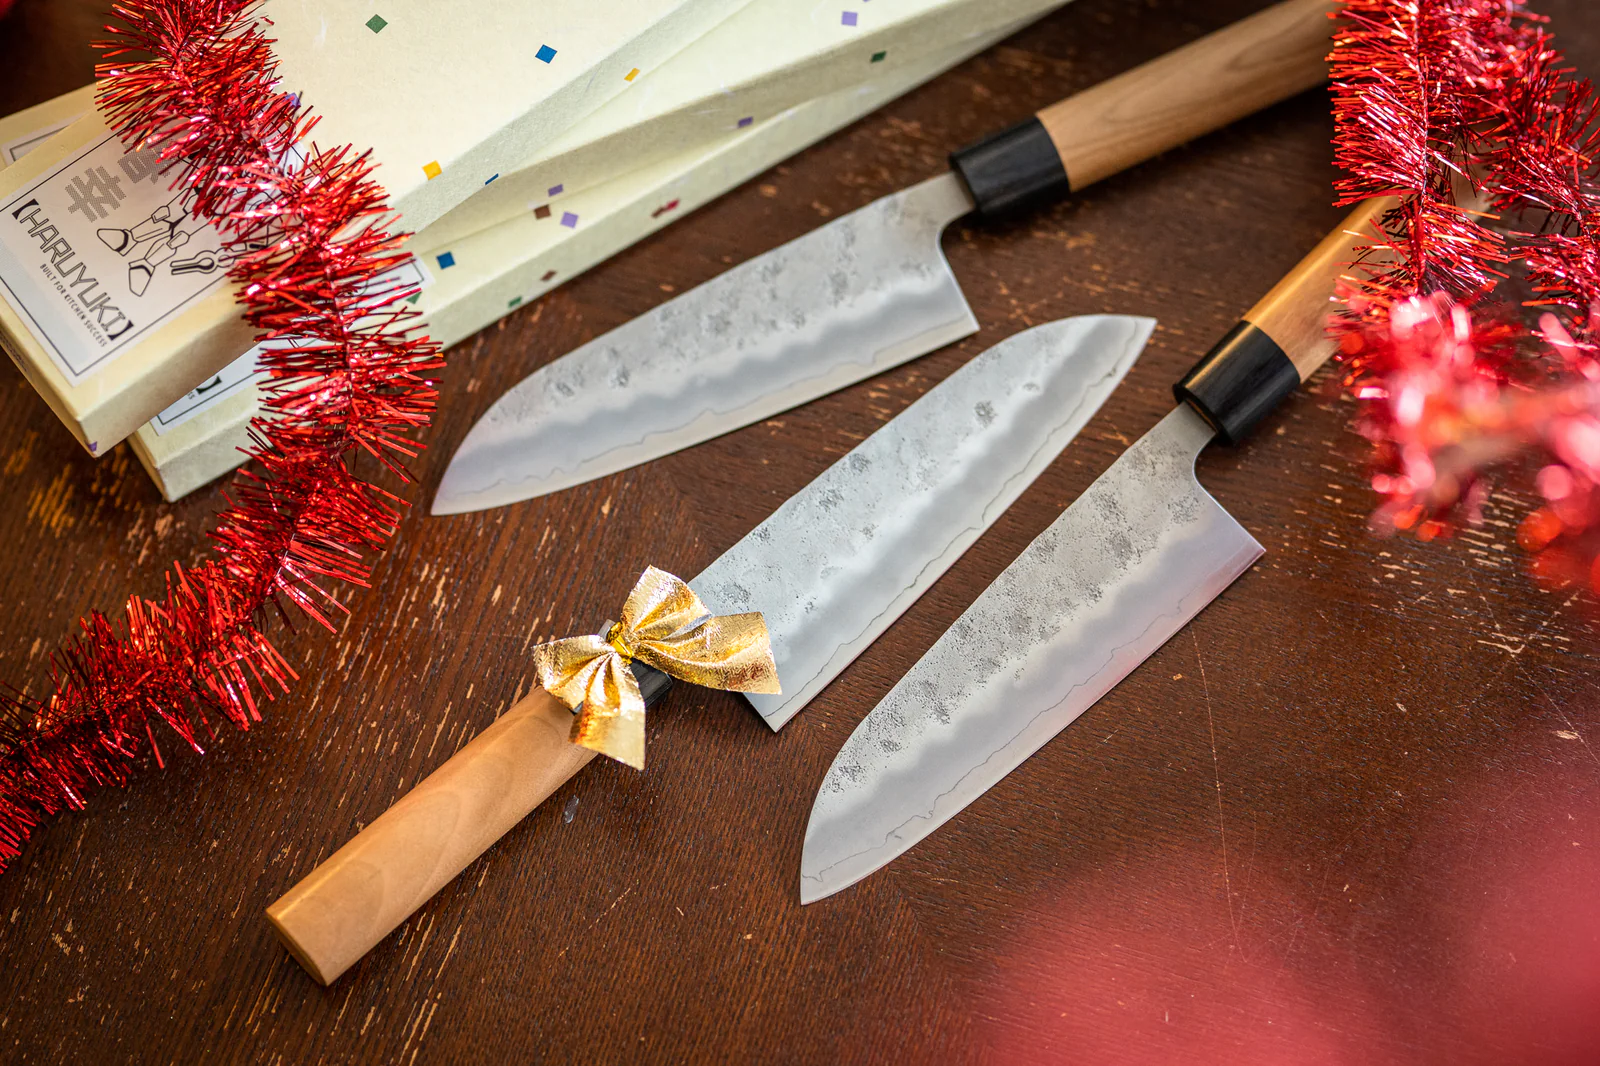
Japanese kitchen knives are indeed objects of great beauty. They are also extremely sharp, which combined with their organic and ergonomic design, contributes to their efficacy and specialisation in the various kitchen cutting tasks. The Koi range of Japanese kitchen knives can be seen here. To keep the blade in peak p.
At Koi Knives we bring to you authentic Japanese knives with Australian wood-resin handles. They are predominantly made for slicing vegetables and taking your kitchen to the next level. Feel free to visit our shed!.
Japanese kitchen knives are indeed objects of great beauty. They are also extremely sharp, which combined with their organic and ergonomic design, contributes to their efficacy and specialisation in the various kitchen cutting tasks.
The Koi range of Japanese kitchen knives can be seen here.
To keep the blade in peak performance, this level of sharpness must be maintained at all times. That means you may have to occasionally or frequently sharpen your Japanese kitchen knives depending on the frequency of use. A dull knife not only means a degradation in performance but they are also more difficult to control which can make cooking a lot more hazardous. Japanese knives are generally thin and sharp so even a dull Japanese kitchen knife may still be a potent and dangerous kitchen tool, particularly when it slides off the food and onto one of your fingers.
In spite of the necessity to keep knives sharp, many chefs still shy away from having to sharpen their kitchen knives, particularly if it is a high-end kitchen knife which has cost them a little fortune. Sharpening a Japanese kitchen knife becomes an even more daunting prospect when it is a single-bevel kitchen knife or an asymmetrical double-bevel that requires more attention.
Japanese whetstones in particular, demand intricate attention to meticulously and methodically apply the precise strokes to sharpen either the single-bevel or double bevel kitchen knives. In this article, we give you a lowdown on how to sharpen both Western-style and traditional-style Japanese kitchen knives.
Koi Knives has a range of whetstones available to purchase instore and online.
Send us a message if you're unsure which whetstone will best suit your needs.
As intimidating as it looks, sharpening a Japanese kitchen knife can actually be simpler if you master the angle, technique and practice a bit. We break it down for you and offer you tips on the simple techniques to use to flawlessly sharpen your Japanese kitchen knife like the pro chefs or seasoned Japanese bladesmiths that will give your blades ultra-sharp and shiny edges.
Sharpening Japanese Kitchen Knives
Both single-bevel and double-bevel Japanese kitchen knives must be sharpened by hand on whetstones. This is the only way to restore their original edges and transform them into the knives they are meant to be.
When the kitchen knife is correctly trained against the whetstone during the sharpening process, you can begin adapting the edge to your specific needs. This is why it is always recommended that Japanese kitchen knives are sharpened by the chefs using them or by a skilled knife sharpening service. Chefs intuitively know the degree of sharpness that suits their style.
When you have mastered the whetstone and the sharpening technique, you can easily personalise the sharpness of the knife to your specific needs. With some practice, it is possible to achieve precise and desired sharpness and to restore the edges of the kitchen knife to their original condition when the knife was purchased.
In the Japanese culinary tradition, the knife sharpening process is critical to the preparation of the cuisine.
This is most apparent in sushi bars which have their own whetstones where the chefs sharpen their kitchen knives at the end of the working day.
When Should You Sharpen Your Kitchen Knife?
Most conventional chefs will wait until the knife is noticeably blunt before they consider sharpening it. Ideally, prized Japanese kitchen knives should be sharpened when they still retain relative sharpness. This may sound counterintuitive but there is a practical logic to it. When the knife is still relatively sharp, you will only spend a little time restoring it to its original sharpness. If you let the knife become too dull before you begin sharpening it, you will need more effort and time to restore it to its original form. For regular professional usage, the double-bevel kitchen knives will need to be sharpened every few days.
You can use the paper test to determine if your knife has become too dull. If the knife can slice a paper easily without the knife catching and tearing the paper, then it is sharp enough and doesn’t require sharpening at the moment. However, if you are slicing a paper and it crumples under the knife, the knife has become dull or probably has some dull sections that require sharpening.
The Knife Sharpening Process
If you are sharpening your knife on the whetstones, the process will stay largely the same irrespective of whether you are working on a double-bevel or single-bevel kitchen knife.
Start by Preparing the Whetstones
To get the best edges and avoid ruining your kitchen knives, use a level whetstone surface. Start by soaking or splashing the stone surface with water. If you will be using rough or medium stones, ensure that you soak them in water for between 10 and 15 minutes. If you are sharpening Japanese kitchen knives using fine stone, splash them with water as you proceed with the sharpening process.
In case you are using stone fixers or synthetic stones, soak these in water first for at least 10 minutes. You will know the stone is well-soaked when bubbles no longer come out of it when it is immersed in water.
Stone fixers are positioned on the edges of the whetstone to bevel it. Use a back-and-forth motion to sand off the top stone surface and shear off enough material to flatten the surface.
Stabilise the stone with a wet cloth
Place the stone on top of a wet towel or cloth for maximum stability during the sharpening process. You can also use a stone base which gives your knuckles sufficient clearance. A base slightly raises the stone above the work surface to give you the best angle to work with.
Determine the best edge sharpening angle
Hold the knife using the most stable grip. Let the index finger of your hand rest on the spine of the knife and the thumb on the flat section of the blade. The remaining three fingers should grip the handle. Don’t sharpen the kitchen knife by gripping the knife’s handle only.
Hold the knife firmly with a relaxed upper body and with your shoulders square to the stone. Keep your arm and shoulders comfortable and position the face of the knife on the whetstone in readiness for sharpening. The most common sharpening angle is 60 degrees to 70 degrees.
You can go for a narrower angle but ensure you keep whatever angle you choose consistent throughout the sharpening for the best results.
The most important sharpening skill is to find the right sharpening angle for your kitchen knife. This refers to the angle at which you will position the edge of the kitchen knife to the stone. This angle has a direct bearing on the edge shape and sharpness and mastering it is essential for your knife sharpening technique.
Once you have figured out the right sharpening angle, you are good to get it rolling and to consistently realise a high degree of sharpening success every time.
Sharpening the Kitchen Knife
Use two or three of your fingers to press the edge of the cutting blade to the stone. Apply pressure as you move the blade forward along the stone while releasing the pressure as you are moving the blade back to the starting position (the downstroke). This movement will sharpen the part of the edge that is directly beneath your fingers. You will get a more even sharpening by maintaining the pressure level.
Re-do this while pressing the edge of the knife close to the stone surface. Move the knife to the next edge position and repeat the same process. This allows you to sharpen a small bit of the edge each time. Continue the back and forth gradually until you can feel an even burr along the whole edge of the kitchen knife.
If you can feel the burr, you can reverse the blade and start sharpening from the tip. To get rid of the burr, you will need to apply more pressure for your downward strokes.
During the sharpening, always remember to keep a consistent angle between the blade edge and the stone.
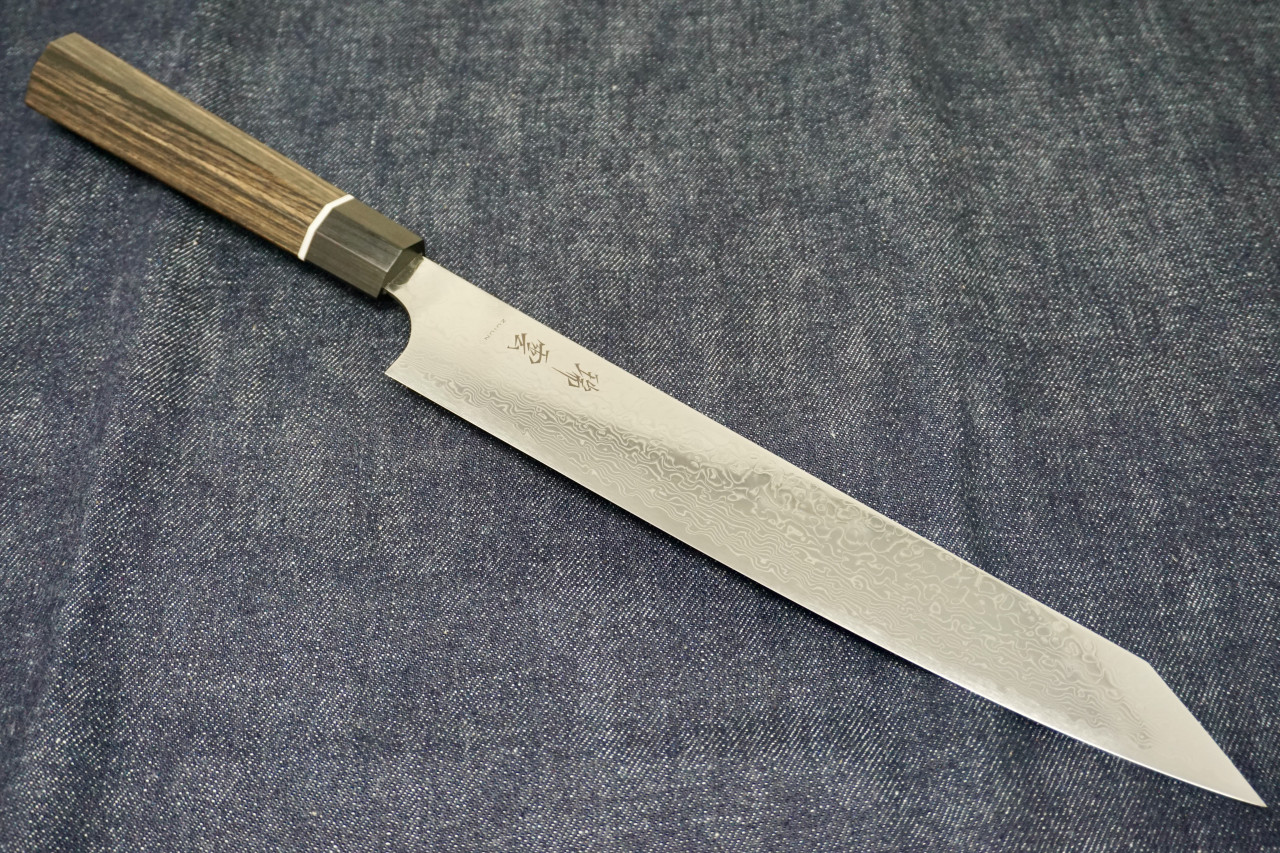
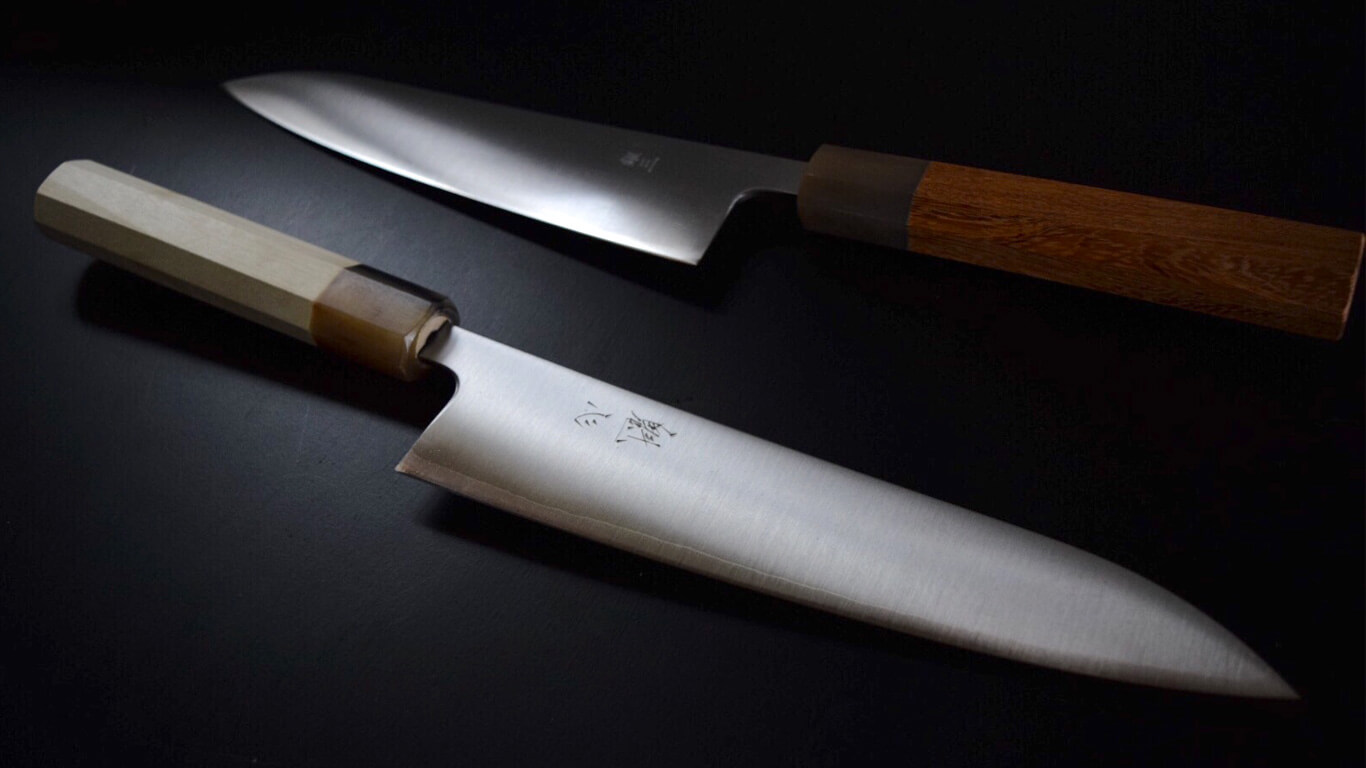
Sharpening Single Bevel Kitchen Knives
Traditional Japanese kitchen knives such as the Yanagiba, Usuba and Deba have an ingenious single-edged or single-bevel design.
They also feature what is known as a shinogi line. This is where the cutting section of the kitchen knife starts to taper down towards the knife’s edge. The shinogi line is key to how the knife glides through the food. When sharpening a single-edged knife, take precaution not to change or erase this line.
Another feature that you should take note of when sharpening your yanagi, usuba or deba kitchen knife is the gentle curve on the back of the knives which is known as the urasuki.
Sharpen the single-edged kitchen knife until you can feel some slight and even burr on the blade’s reverse side.
The blade should be positioned perpendicular to the stone. It should also be flat against the stone surface. Use your middle or index finger and press the edge gently against the stone with the thumb pressing the spine of the knife to remove the burr.
When you press the two sides of the blade, you will help retain the slight concave shape that is on the reverse side of the single-bevel blade. This also makes it possible to sharpen the knife again in the future.
Sharpening Double Bevel Kitchen Knives
Before you sharpen a double-bevel kitchen knife such as the gyuto and the santoku, take time to note its bevel or the angle of the blade edge.
You should also note the blade road on both the front and backside of the double-edged kitchen knife. You will be sharpening the section along the knife road that runs from the shinogi to the edge of the knife.
While some double-bevel kitchen knives have a 50-50 V-shape, many Japanese double-edged kitchen knives have a sort of 70:30 bevel ratio where the front face of the knife has a more substantial edge than the backside of the knife. This will be relevant in your sharpening technique and the angles you will adopt in sharpening the front and the backside of the kitchen knife.
If the double-edged kitchen knife is a symmetrical 50-50 V-shape, you will apply a similar number of strokes on both the front and the backside of the blade. However, if the front face has more edge than the backside such as in a 70:30 double-bevel kitchen knife, you will apply 7 strokes at the front and 3 strokes on the knife’s backside.
Some Japanese slicers like the honesuki or any Wa-type knife will have a 90:10 bevel with very little edge on their backside.
Like in sharpening a single-edged kitchen knife, the angle of sharpening is key to sharpening success in this instance. The recommended angle for positioning the cutting edge of the double-edged knife to the stone ranges between 10 degrees and 20 degrees. If you go for a smaller angle, you will get a cutting edge that is sharper but also weaker. Use two pennies under the blade for the front of the knife to get an approximate 12-degree angle. For the back part of the knife, approximate the angle by placing three pennies below the blade.
If you are not yet confident with your sharpening skills, this little penny trick can help you achieve a consistent sharpening angle.
Additional Tips
As a beginner, it is recommended that you sharpen the knife in long strokes along the whole stone. Experienced knife sharpeners normally visually partition the stone into four quadrants and use each of the quadrants for each sharpening session.
After about two or three strokes in the sharpening of a single-edged knife, examine the blade to ensure you are not altering or breaking the shinogi line.
Kitchen Knives Set Professional Chef Knives Santoku Sashimi Butcher Vegetable Cutter Filleting Petty Salmon Knife Japanesse - AliExpress

How to Care for Your Brand New Japanese Knife (Or Any Other Knife)
How to Care for Your Kitchen Knives
Seki Kanetsugu Knives
Kaishin and the finest custom order Japanese knife - Nakamura Knives
Is it Bad Luck to Give a Knife as a Gift? Knifewear - Handcrafted Japanese Kitchen Knives

Yanagiba editorial and product photography Photographing food, Japanese food photography, Food drink photography
Knife-Buying Tips And Tricks from Alton Brown

How to Pick the Best Kitchen Knife - Impressions
Damascus Chef Knife: A Comprehensive Guide and Knives to Consider Purc
Types of Kitchen Knives: Parts, Materials, & More

Yoshihiro Ginsan-Ko High Carbon Stain Resistant Steel Santoku Japanese – Yoshihiro Cutlery

What are Japanese Knives? Explained by a Japanese Chef

Best Quality 7 Inch German Knives - KOI Artisan


